
Restore or migrate WordPress from a WP Time Capsule S3 backup
Use the WP Time Capsule Bridge to restore an existing S3 backup into a destination hosting account.
Website details
Enter each full website URL, including https:// or http://.
Protect the source and backup
Work on the destination copy first. Keep the source site and the complete S3 backup tree unchanged until the restored site has passed verification and any domain cutover decision is complete.
Before you start
You need:
- Access to the destination hosting control panel and its File Manager.
- Permission to read and download the S3 bucket or prefix that contains the WP Time Capsule backup.
- A complete WP Time Capsule S3 backup tree for the site, including the files and database objects for the restore point you plan to use.
- For the manual method, an empty destination database name, database username, password and host.
- For automatic database creation, permission to create a temporary cPanel API token.
Bootstrap method for shared cPanel hosting
Use this method when you have cPanel File Manager access but no SSH. The bootstrapper checks the destination, refuses non-empty databases, installs the approved Bridge and can create a separate empty database through cPanel UAPI.
Choose one preparation method. If you use the bootstrapper, skip the manual Bridge preparation section.
- Download
restore-bootstrap.zipand extract it on your computer. - Open
prepare-bootstrap.htmlfrom the extracted folder. It runs locally in your browser and does not upload or send anything. - Enter the full destination website URL in the preparation page, including
https://orhttp://. Do not add/restore-bootstrap.php. The page builds the complete link for you. - Select Generate configured PHP. Your browser downloads a ready-to-upload
restore-bootstrap.phpand shows its private access key. - Save the private access key, then upload only the generated
restore-bootstrap.phpto the destination domain document root. - After the upload, select the generated link in the preparation page. It will match
https://your-destination-domain.example/restore-bootstrap.php. If the link useshttp://, use it only to check the address. Enable HTTPS before entering the private access key or hosting credentials. - Enter the access key, then review the detected document root,
wp-config.phpand database status. Stop if the location is not the intended destination. - Choose whether this is a staging copy or a primary-site restore, then state whether the hosting account also contains the live website.
- Select Download and install Bridge.
- Choose automatic cPanel mode with a temporary API token, or follow the on-screen Database Wizard steps. The helper accepts only an empty destination database.
- Open the Bridge, upload the matching
*_wptc_meta.sql.gzfile and select the restore point. - After verification, remove the Bridge through the helper, delete
restore-bootstrap.phpand revoke any temporary cPanel API token.
Manual fallback: if the local preparation page cannot run, edit only the WPTC_BOOTSTRAP_ACCESS_KEY constant near the top of the included PHP file and replace its placeholder with a private key containing at least 24 characters.
The helper never deletes a database and does not store the cPanel API token.
Manual method: prepare the destination and Bridge
Use this method if you want to upload and configure the Bridge yourself. Skip it if the bootstrapper has already installed the Bridge.
- Open the destination hosting control panel and use File Manager to locate the document root for the domain. It is commonly named
public_html,htdocsor the domain name. - If the document root already contains a site, take a separate backup before changing it.
- Download the official WP Time Capsule Bridge ZIP.
Connect the destination database
If you used the bootstrapper, it opens the Bridge with the verified destination database values. Continue with the Bridge prompts. For the manual method:
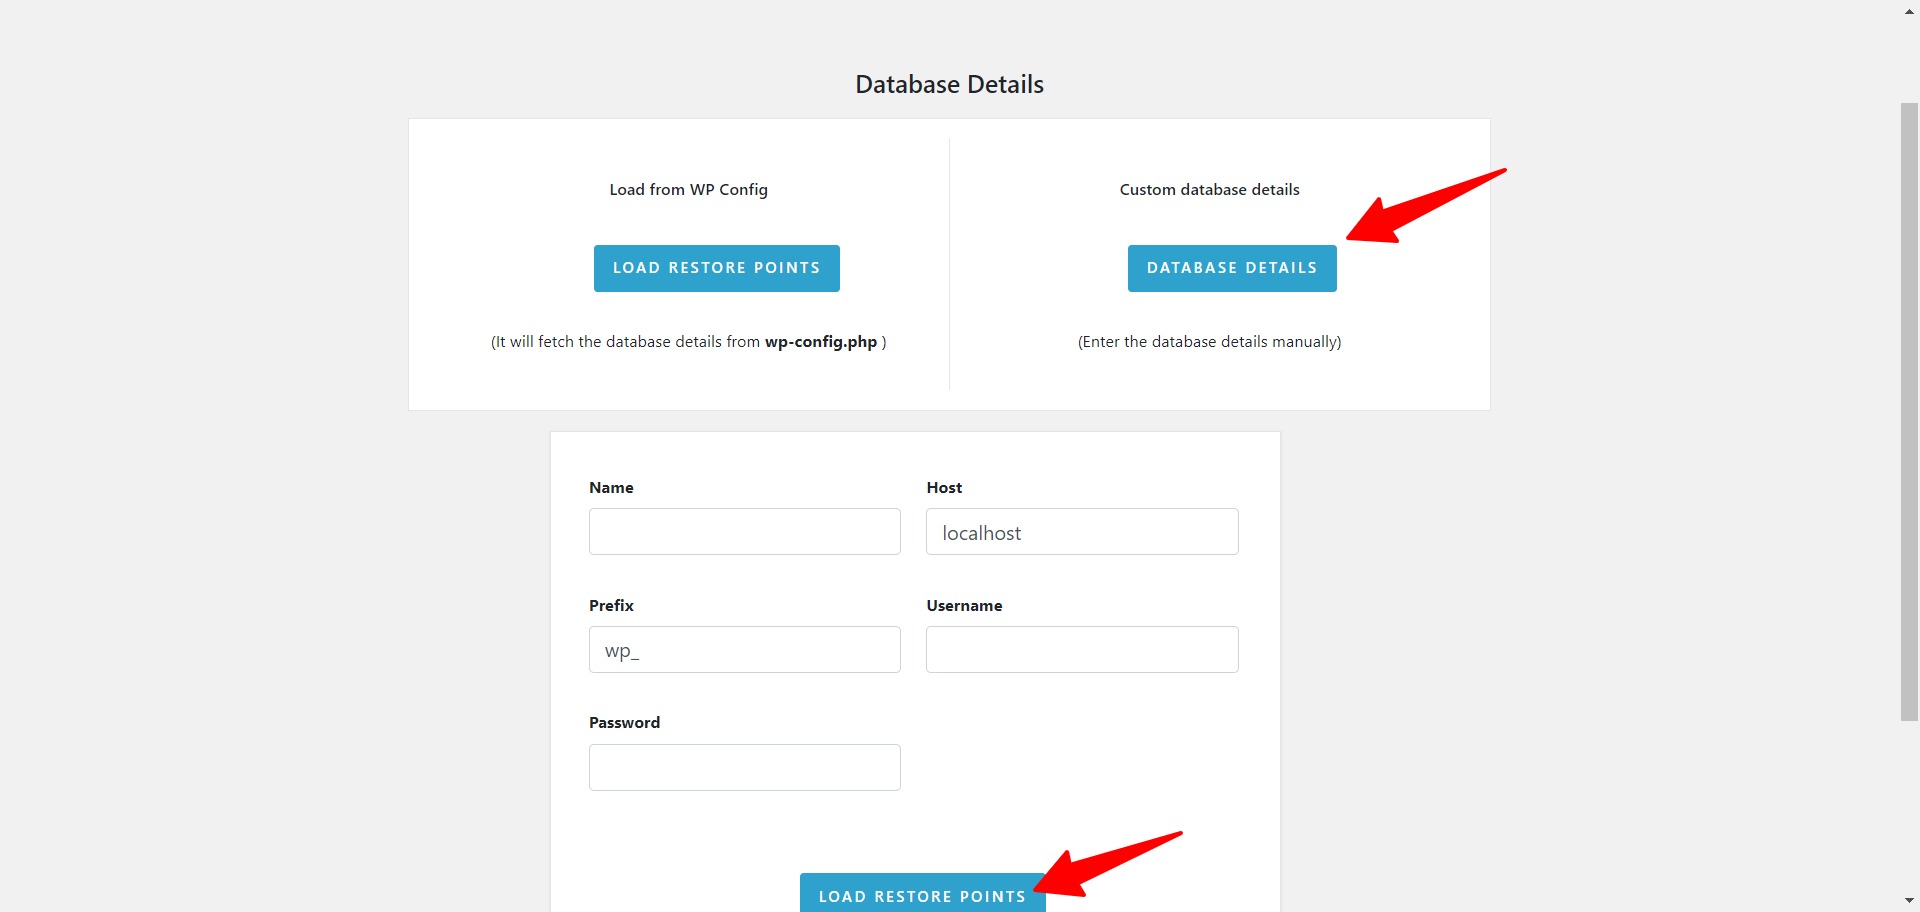
- Enter the destination database name, username, password and host in the Bridge.
- Use the destination table prefix when the Bridge asks for one.
- Select Load restore points.
If the Bridge cannot connect, stop and check the database host, credentials, user permissions and destination database before trying again.
Find the matching S3 restore files
In the S3 backup tree, open the site backup folder and continue to wp-content/Uploads/tCapsule/Backups. Find the two compressed SQL files that belong to the same restore point:
*_wptc_meta.sql.gz*_backup.sql.gz
Match the timestamp or common filename portion. Do not mix files from different restore points.
Upload the metadata file only when prompted
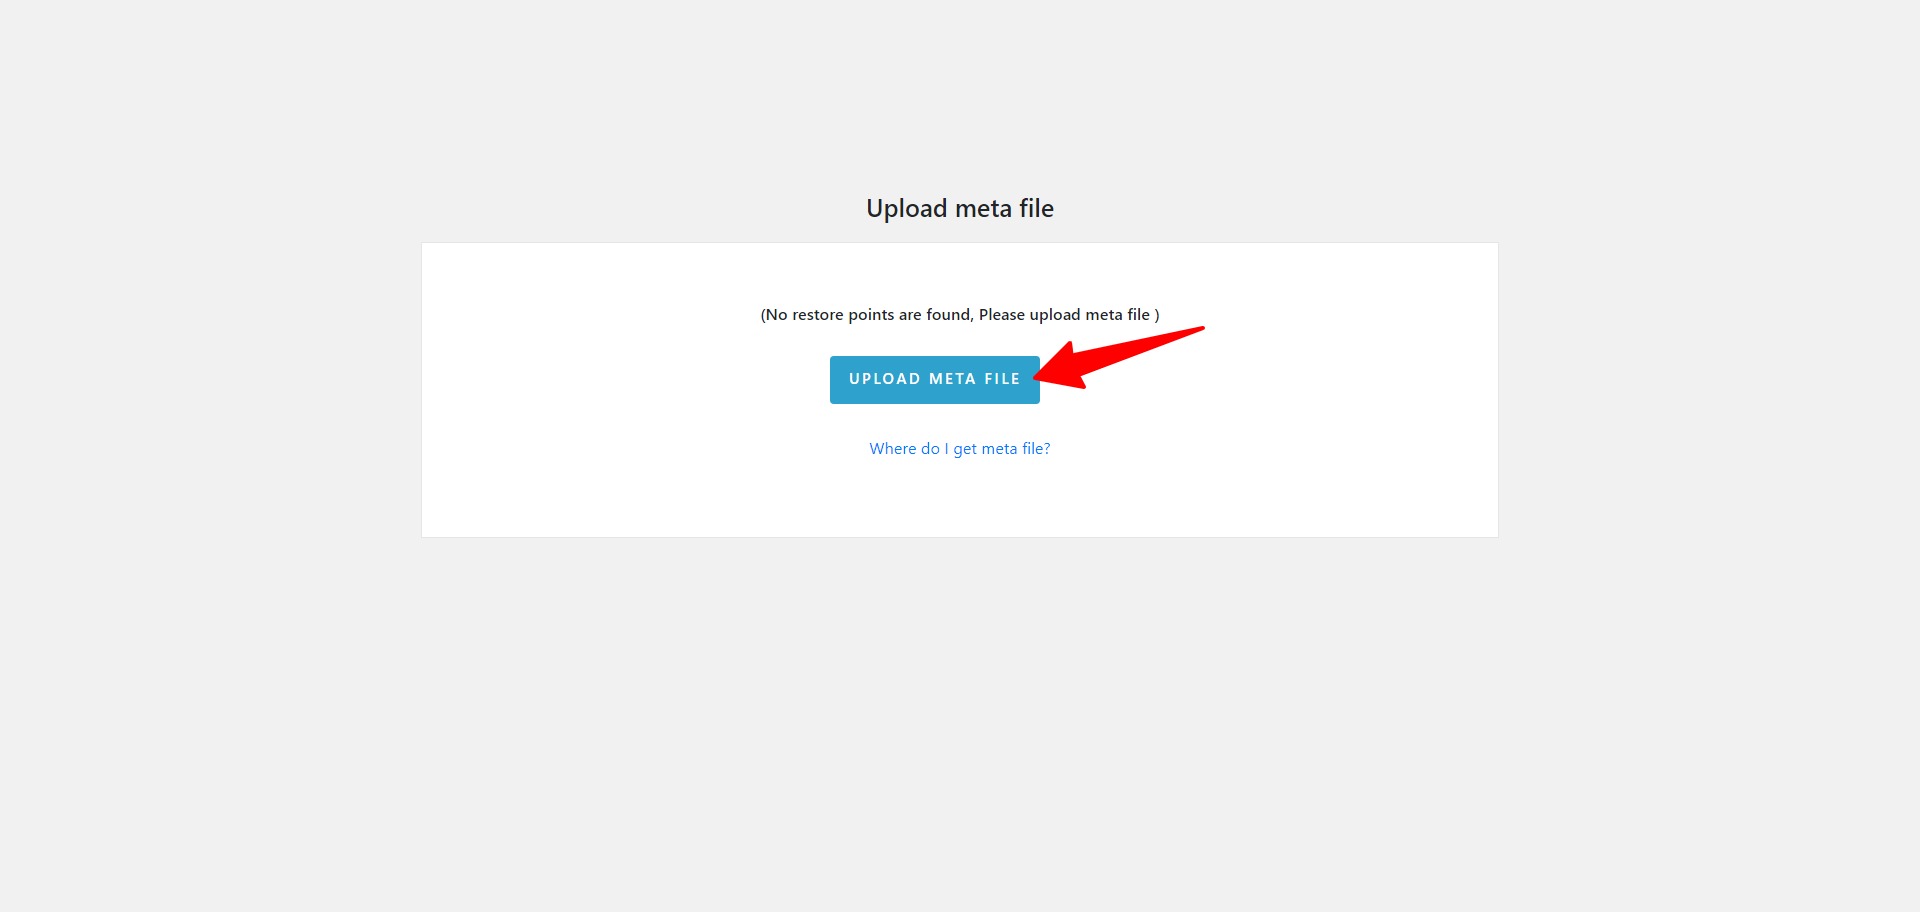
The Bridge asks for wptc_meta.sql.gz. Upload the matching *_wptc_meta.sql.gz file at that prompt. The matching *_backup.sql.gz remains part of the S3 restore set and is not manually imported at this step.
Two SQL files are not a complete website backup
A complete restore needs the full WP Time Capsule S3 backup tree, not only the two SQL files. Keep the backup structure unchanged until the restored site is verified.
Choose the restore point and domain settings
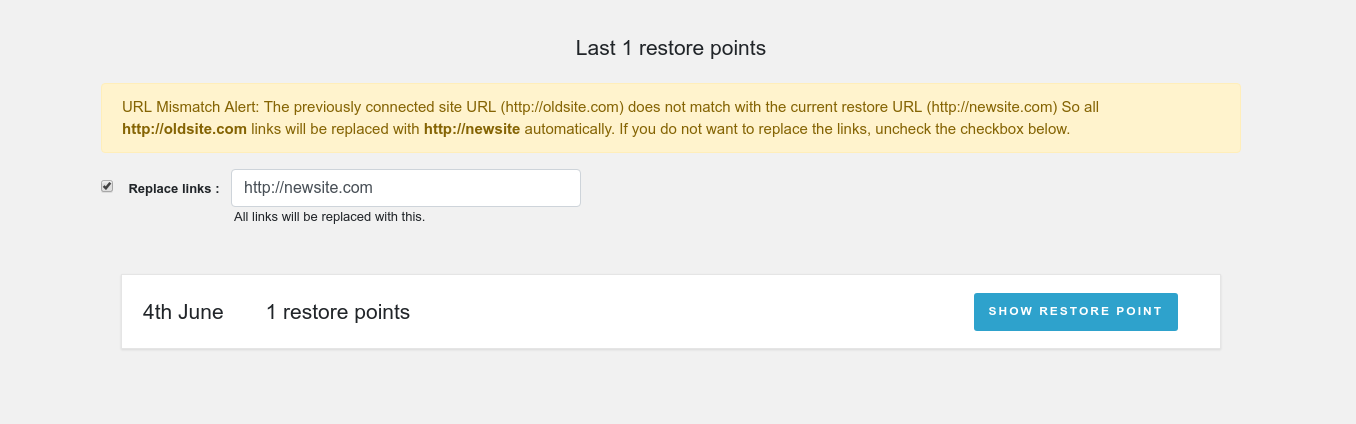
- After the metadata file loads, select the restore point that matches the backup date you intend to recover.
- For a same-domain move between hosting providers, keep the existing site URLs. After the restore, check
wp-config.php. Restored source files can overwrite the destination database settings, so updateDB_NAME,DB_USER,DB_PASSWORDandDB_HOSTto the destination values if required. - For a new-domain migration, enable the Bridge link replacement option from
https://source.exampletohttps://destination.example. Use the exacthttps://orhttp://URLs and intendedwwwor non-wwwforms. - Start the restore and leave the Bridge open until it reports completion.
Verify the restored site
Check the restored site before changing DNS or removing the source:
- Open the home page and several representative pages on desktop and mobile.
- Sign in to
wp-adminand confirm the dashboard loads without errors. - Confirm the SSL certificate, canonical host and browser security state.
- Test internal links, menus, images and downloadable files.
- Submit each important form with safe test details and confirm the intended success message.
- Confirm WordPress and form notifications can send email and arrive at the expected test address.
- Check plugin and theme licence status.
- Open Settings > Permalinks and save the current structure if routes return 404 errors.
- Clear WordPress, LiteSpeed, server, CDN and browser caches.
Remove the Bridge immediately
After verification, delete any uploaded wp-tcapsule-bridge.zip and the entire /wp-tcapsule-bridge/ directory from the destination document root. If you used the bootstrapper, use its cleanup button first, then delete restore-bootstrap.php and any uploaded restore-bootstrap.zip. Revoke the temporary cPanel API token. Confirm that the Bridge and bootstrapper URLs no longer load.